Picobello Ceramic Repair Kit (Terracotta)
Product number:
G61471
Product information "Picobello Ceramic Repair Kit (Terracotta)"
Uses:
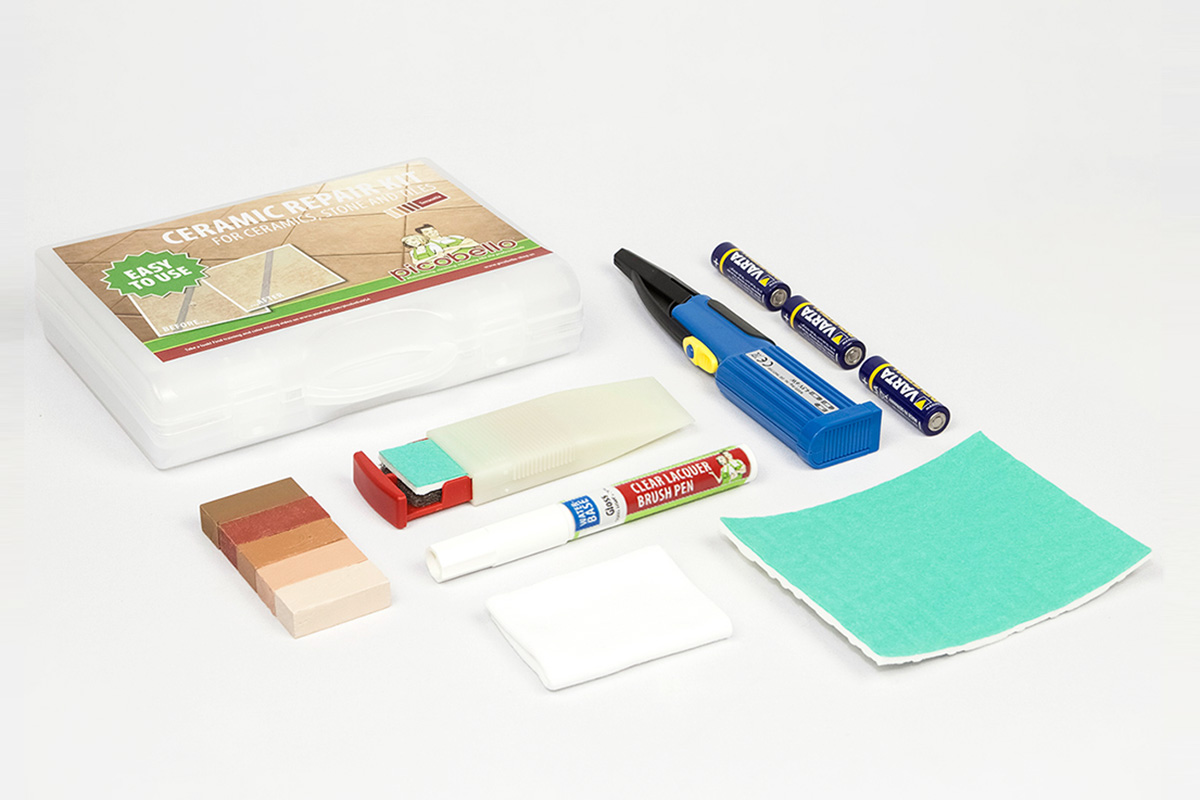
Damaged Tiles in your Bathroom or Kitchen? There is no need to replace them when you can easily repair them with the Ceramic Filler Kit! Now you can fix holes and chips in wall and floor tiles perfectly. The set contains Ceramic Filler in five different and intermixable colors as well as all the necessary accessories. A Clear Lacquer Brush Pen is included in the kit to seal and to protect the repaired area. Suitable for surfaces such as ceramic, porcelain, terrazzo and cast stone. The ceramic filler is very hard and resistant, the melting point is 266°F (130°C), the water absorption is less than 1%. Available colors: White/Grey or Terracotta. The colors can be mixed together to achieve a great color match.
Contents:
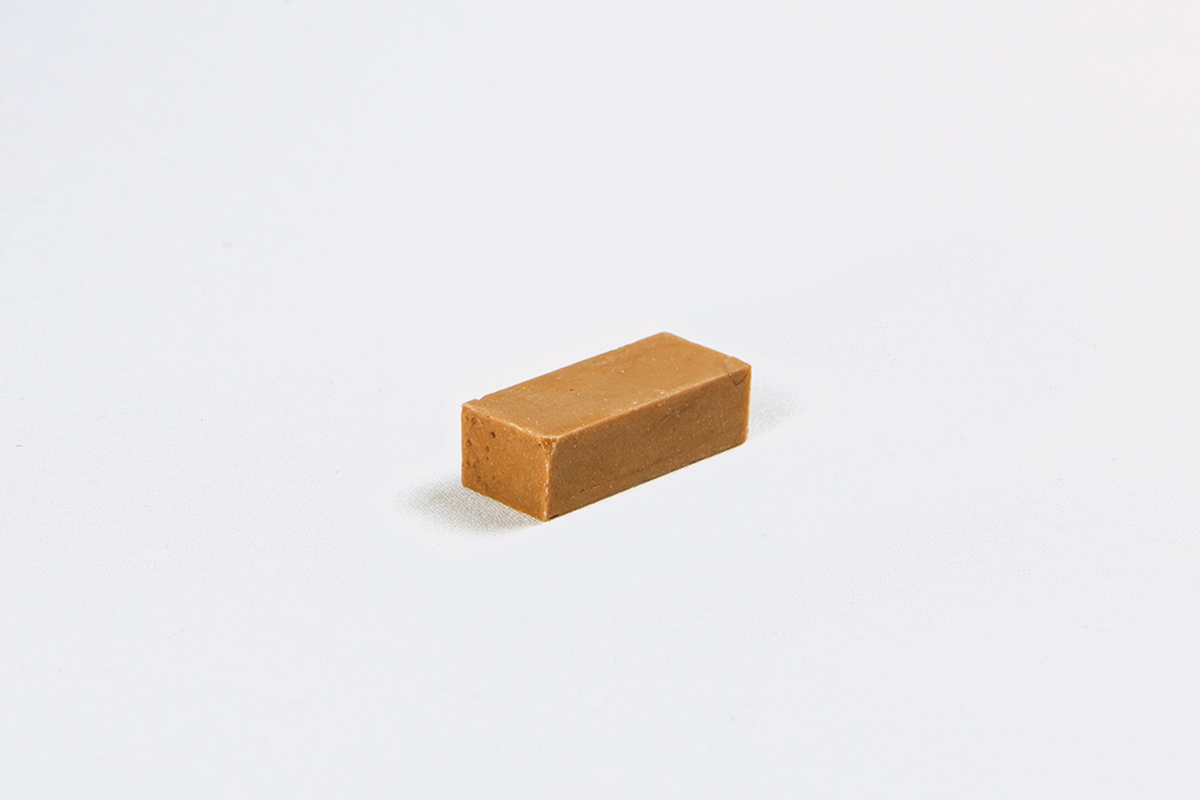
5 Ceramic Filler sticks (Terracotta)
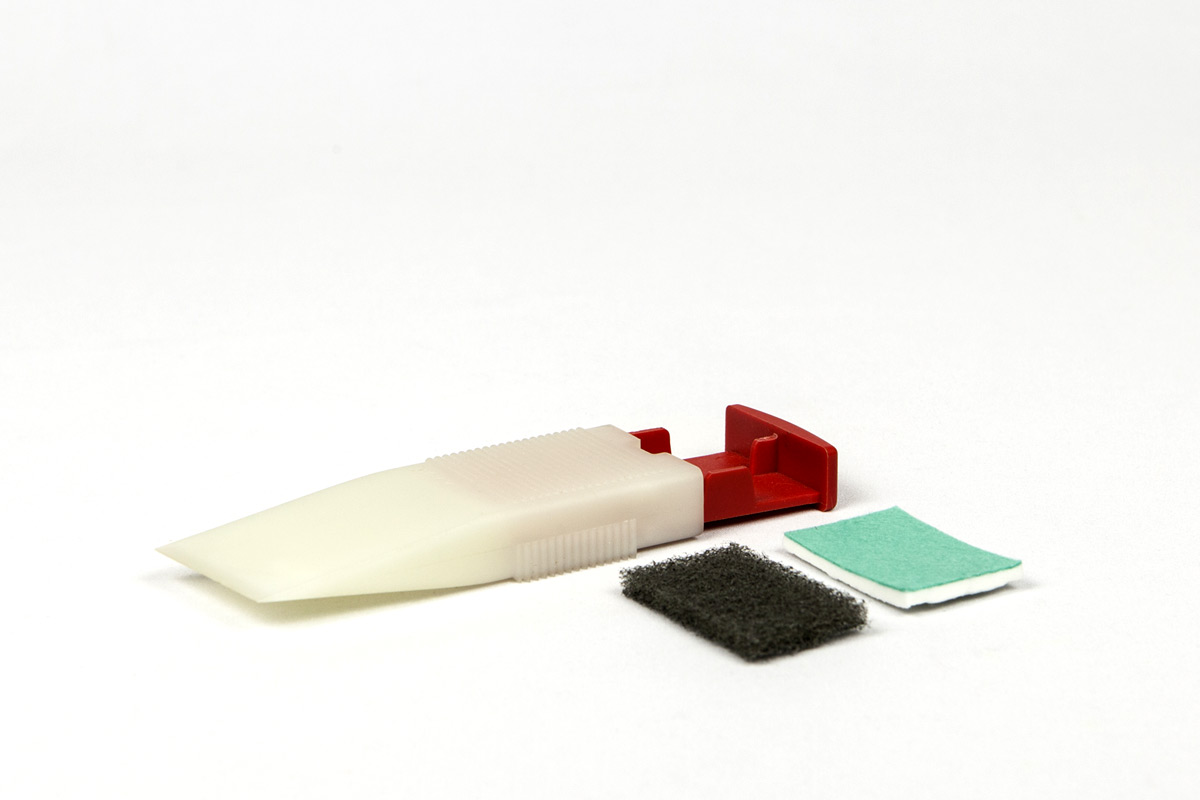
1x Special Fillers Applicator (transparent)
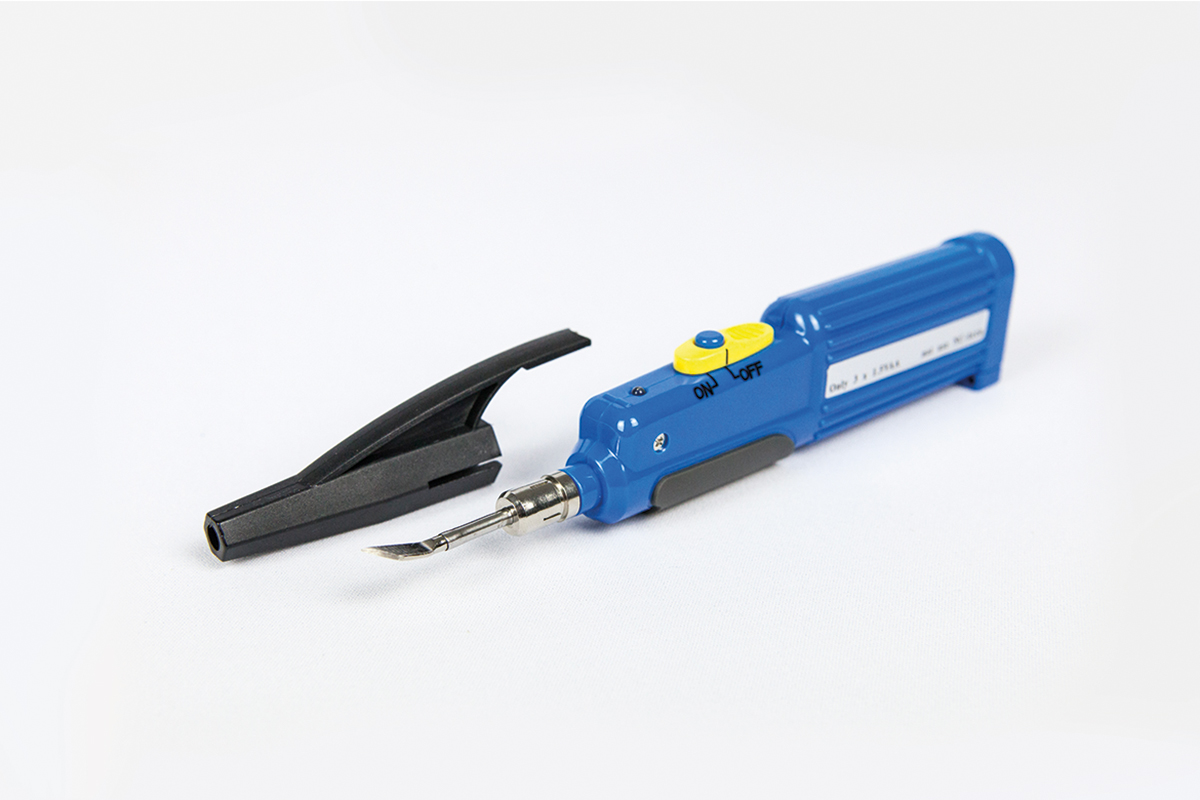
1x Battery Melter
1 x Sanding and Polishing Pad
1 x Lint Free Cotton Cloth
1 x AQUA Clear Lacquer Brush Pen: Gloss
1 x Instruction Guide
https://youtu.be/opHYiRTzxHQ
| To be used on: | On surface and/or materials: |
|---|---|
| Drill holes | Wall and Floor Tiles |
| Small holes | |
| Damaged edges | |
| Chips |
It‘s that easy…
Preparation: The area to be repaired has to be clean, dry and free from grease. If necessary, remove any loose or protruding particles. Melting: Activate the melter. Hold the hot melter tip to a Ceramic Filler stick of a matching color shade and melt off a little filler. You can also mix several color shades. Filling: Use the tip of the melter to apply the molten filler to the damaged area. Always slightly overfill the area. After each melting process, clean melter tip on the cotton cloth. Leveling: Use the sharp grooves of the Special Fillers Applicator to strip off excess material. Color Adjustment: If the color of the filled area does not match very well, you can always make a color adjustment. Just melt a little material off one or two Ceramic Filler sticks and intermix with the filler in the damaged area. Leveling: Again, after filling, strip off excess material with the Special Fillers Applicator. Finally, use the wide front edge of the planer in a rapid motion to smoothen the repair. Important: Do not scratch with the tip. Sealing: To protect the repaired area, apply a sealing with the AQUA Brush Pen Clear Lacquer. Apply the lacquer evenly in one direction to the repaired area. If possible, do not apply lacquer to the surroundings. After use, wash out brush tip with water and dab dry on a cloth. Sheen Level Adjustment: When the repaired area has dried (after approx. 5-10 minutes at room temperature), the sheen level of the sealed area can be adjusted with the Sanding and Polishing Cloth. The green side of the cloth polishes while the white side reduces the sheen level.
- Application example: Damage to a floor tile
https://www.koenignorthamerica.com/media/c9/39/f9/1724067321/G61471_Pico_CeramicRepairKit_Terracotta.pdf


