Picobello Repair Kit - Natural and Artificial Stone
Product number:
G40360
Product information "Picobello Repair Kit - Natural and Artificial Stone"
Are you frustrated by chippings or minor impact damage on your beautiful natural stone countertop? You don't have to anymore - simply repair the annoyance! The latest repair kit is designed for fixing chippings, impact damage, and small holes on polishable natural and engineered stones. Recommended for indoor use.
Contents:
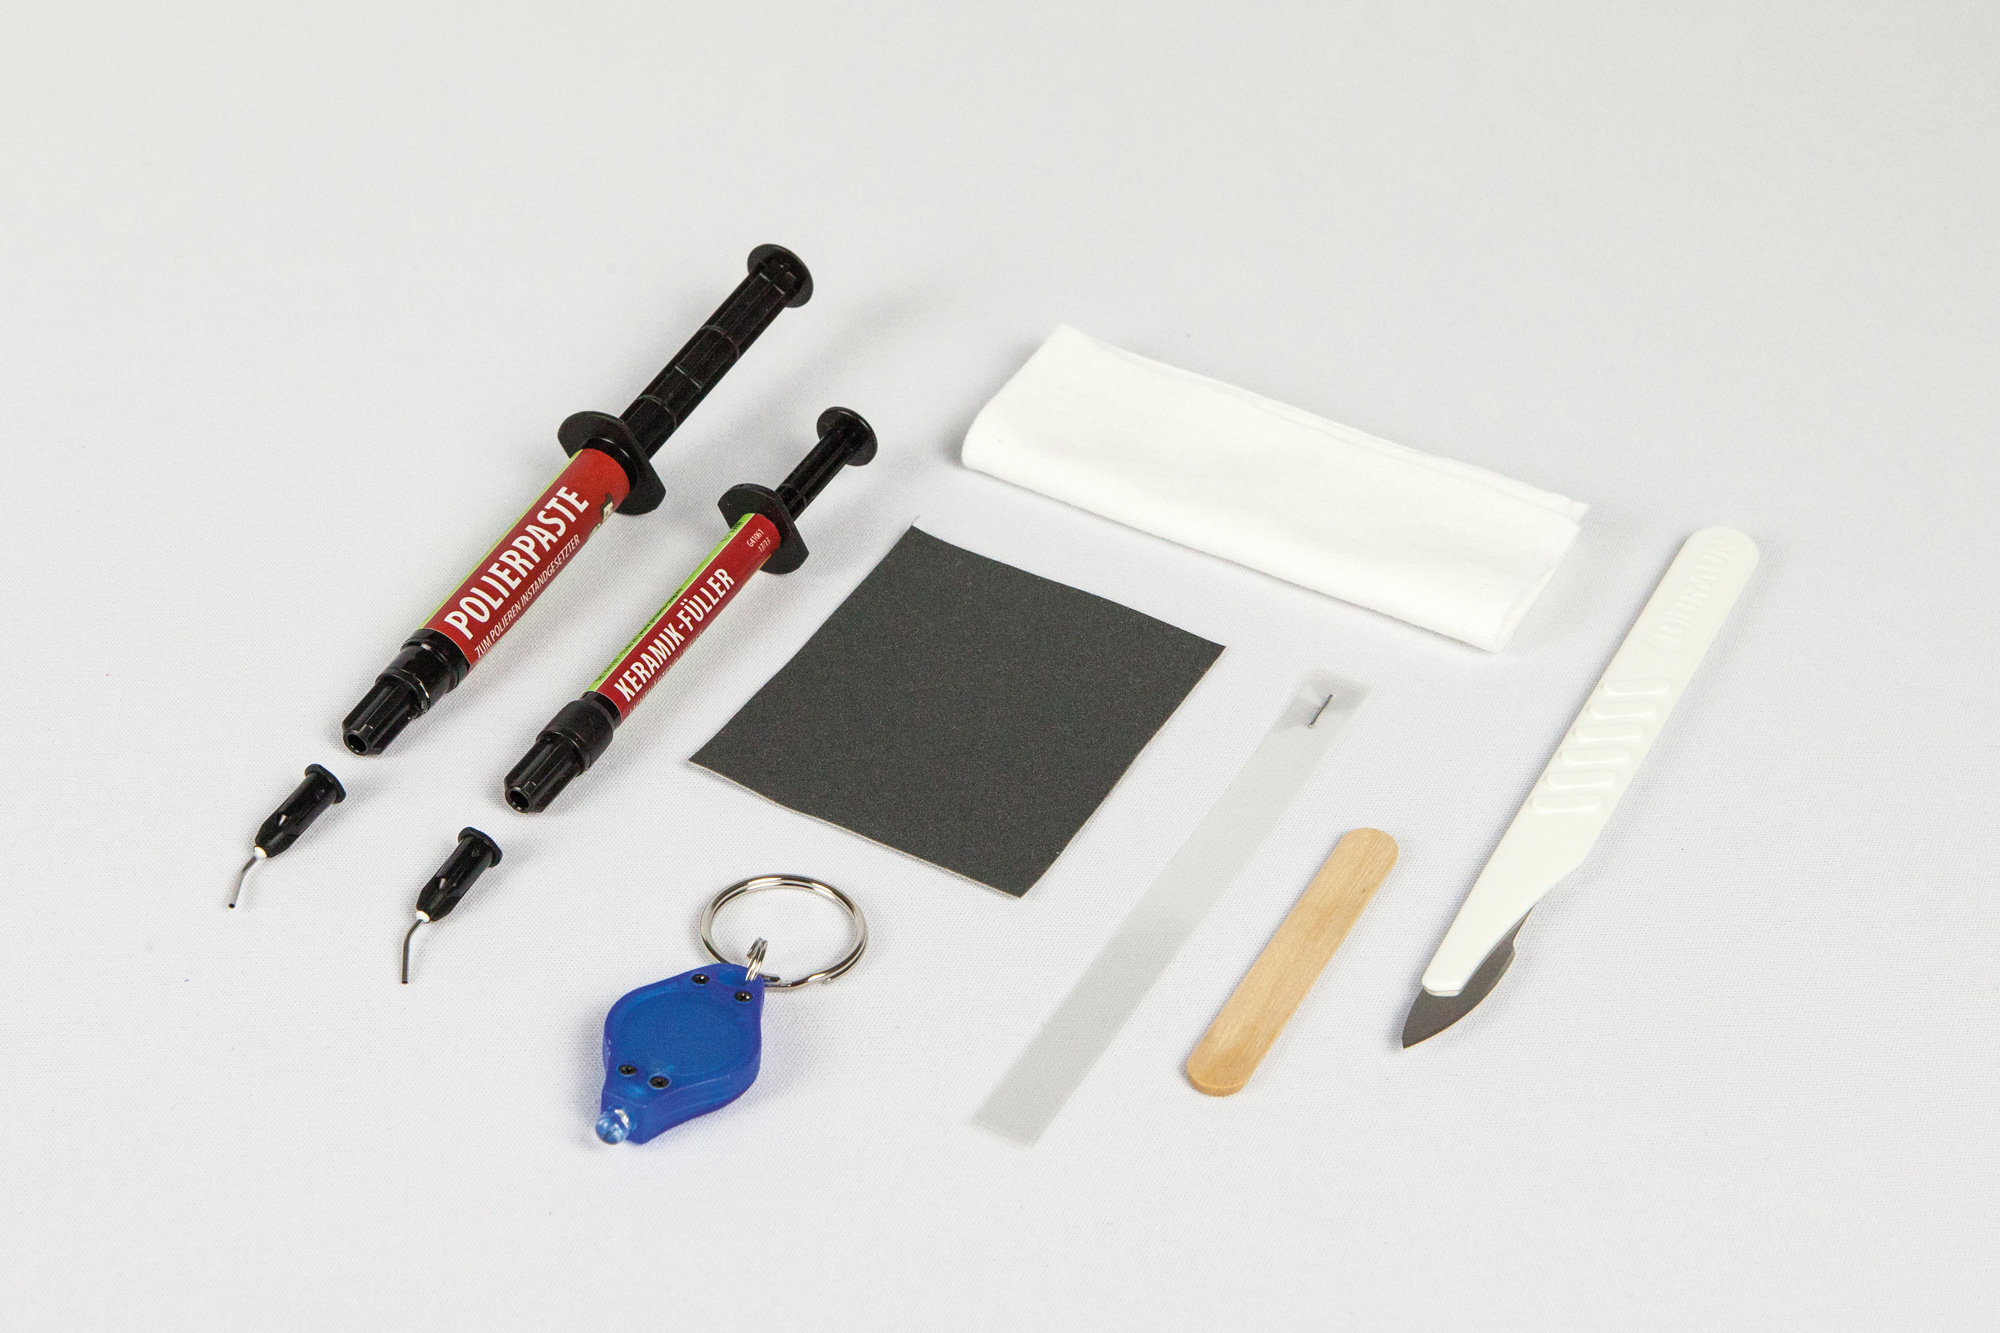
1x Natural/Artificial Stone Filler (transparent)
1x Polishing Paste
2x Cannula
1x Wooden Spatula
1x Scalpel
4x Clear Film Strips
1x Micro Sanding Paper (2.400 Grit)
1x Cotton Cloth
1x Mini LED Light
Contents:
1x Natural/Artificial Stone Filler (transparent)
1x Polishing Paste
2x Cannula
1x Wooden Spatula
1x Scalpel
4x Clear Film Strips
1x Micro Sanding Paper (2.400 Grit)
1x Cotton Cloth
1x Mini LED Light
| To be used on: | On surface and/or materials: |
|---|---|
| Deep scratches | Natural stone |
| Light scratches | |
| Small holes |
It's that easy ...
1. Preparation: Remove any loose, projecting parts. The area to be repaired must be clean, dry and free from grease. TIP: Clean surface with alcohol or thinner.
2. Filling: Remove the black cap from the syringe. Attach the cannula firmly to the syringe. Apply the filler directly into the damaged area until area is slightly overfilled.
3. Curing preparation: Place the clear film strip directly onto the filled area. Use the wooden spatula to flatten the filling material. Make sure no bubbles will develop under the film.
4. Harden: Activate the Mini LED Light either by pressing the center of the lamp or by moving the small slide regulator. Cure the filled area by illuminating for approx. 5-10 minutes per cm² from a distance of not more than 1 cm. Curing time varies dependent on coat thickness. NOTE: If the filler no longer hardens, please replace the UV lamp battery. IMPORTANT: Do not look directly into the LED Light, as this may lead to permanent eye damage.
5. Remove the film: When filler has cured, remove the clear film strip. Carefully cut off any excess material with the scalpel when cured. Always work from the center to the edge and cut only superficially. The filling must not be cut out deeply.
6. Leveling: Use the Sandpaper to sand off excess material in a circular motion with light pressure until level. NOTE: Ensure not to sand through the filling!
7.-8. Polishing, cleaning: Remove the cap from the polishing paste and attach the cannula firmly to the syringe. Apply a small amount of polishing paste to the repaired area and rub in with the cotton cloth in a circular motion, using light pressure until the sheen matches the surrounding area. Clean away any polish residue with a dry and clean part of the cotton cloth. Done! IMPORTANT: With damage of more than 1-1,5 mm depth, it is necessary to work with several layers. prefill and harden the damaged area (please see steps 2-4) and repeat process.
Safety instructions for Mini LED Light: Do not look directly into the light, as this may lead to permanent eye damage. Keep out of reach of children.
- Application example: Light scratches on natural stone worktop
https://www.koenignorthamerica.com/media/b0/bb/82/1724914302/G40360_Picobello_Reparatur-Set_Natur-Kunststein_Instructions.pdf
 Natural/Artificial Stone Filler | Hazard Statements: May cause respiratory irritation. Precautionary statements: if medical advice is needed, have product container or label at hand. Keep out of reach of children. Keep locked up. Use only outdoors or in a well-ventilated area. Dispose of contents/container via the national/local hazardous waste disposal. Contains: 2,2’-ethyl-enedioxydiethyl dimethacrylate, glass, oxide, chemicals (1-methylethylidene) to [4,1-phenyleneoxy(2-hydroxy-3,1-propanediyl)] bismethacrylate, 2-hydroxyethyl methacrylate.

